Simulator
The simulator profile is similar, again, but in this case you do not need a physical robot. Instead, you will run a simulation of the robot and control this.
Getting Started
On a workstation, install ROS, install the MDK, and then install Gazebo.
You will need a ROS master running on your workstation, so open a window and proceed as follows.
You will now be able to run the simulation by following the procedure below in a second window.
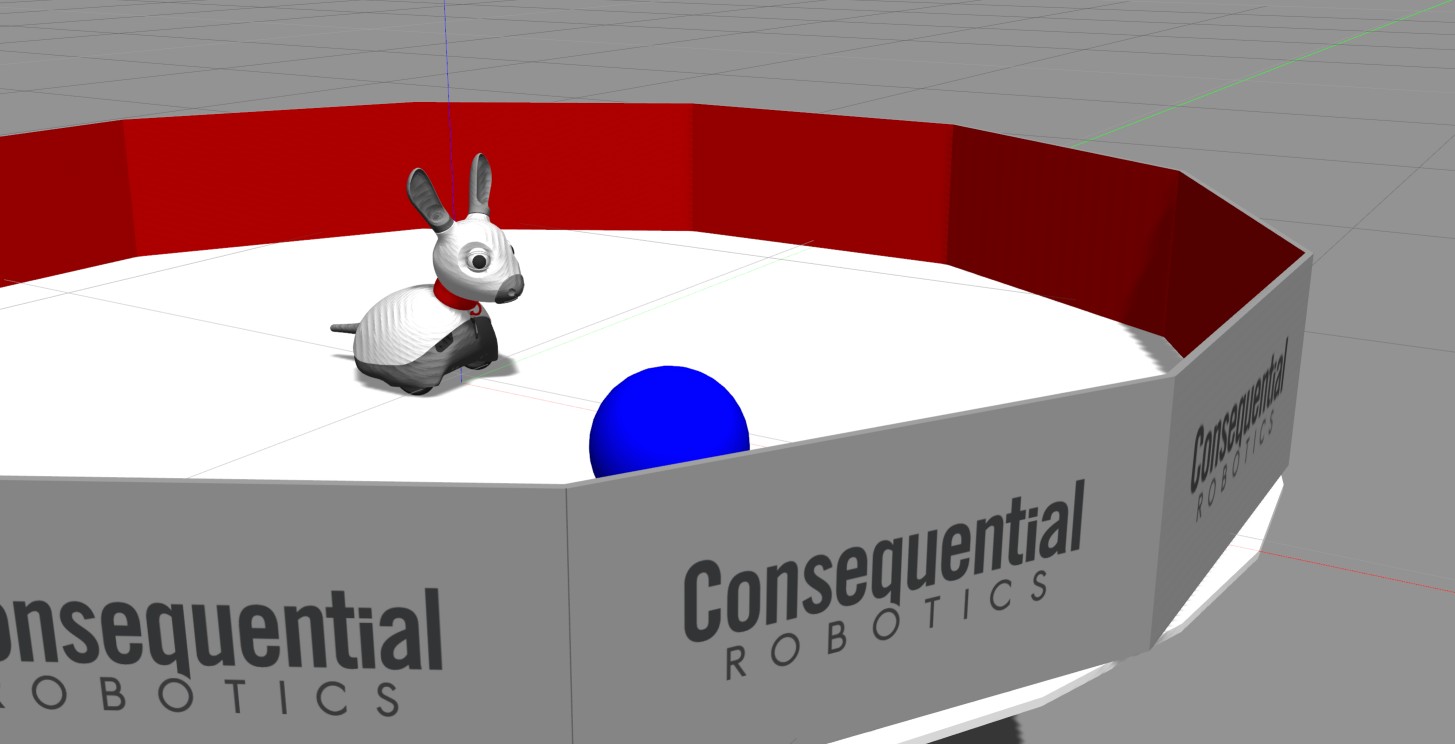
The simulator will start, as shown.
Examples
You can now control MiRo as follows—the robot will swing its head from side to side. Press CTRL+C to stop the controller.
There are various example clients provided—see Examples for more details.
GUI client
The provided GUI client is a great way to familiarize yourself with your robot's sensors and actuators. Proceed as follows to start it.
Simulation parameters
A configuration file is installed at ~/.miro2/config/simulation_parameters which provides some control over the simulator.
- frame
- Override the default camera configuration at simulator start-up.
- use_wideanglecamera_eyes
- A value of
1causes the simulator to use a wide-angle camera model that closely matches the cameras on the physical robot. This model produces somewhat less clear images, however—if you want a clearer image and are less concerned about matching the robot's cameras, you can turn this off to use a narrow-angle camera model. For this reason, the default is to use the narrow-angle model. - enable_*
- Disabling sensors that are not in use may reduce processor load.