Overview
Many of MiRo's user-serviceable parts are under the body shell, being the large white plastic part covering the main body. This page documents how to remove the shell to gain access to these parts.
You should not operate MiRo with the body shell removed since it contributes to supporting the neck.
Removal
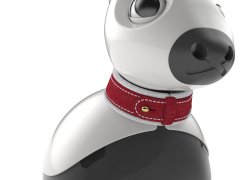
Remove collar
Remove MiRo's collar by unfastening the clip and set it aside.
Body shell release
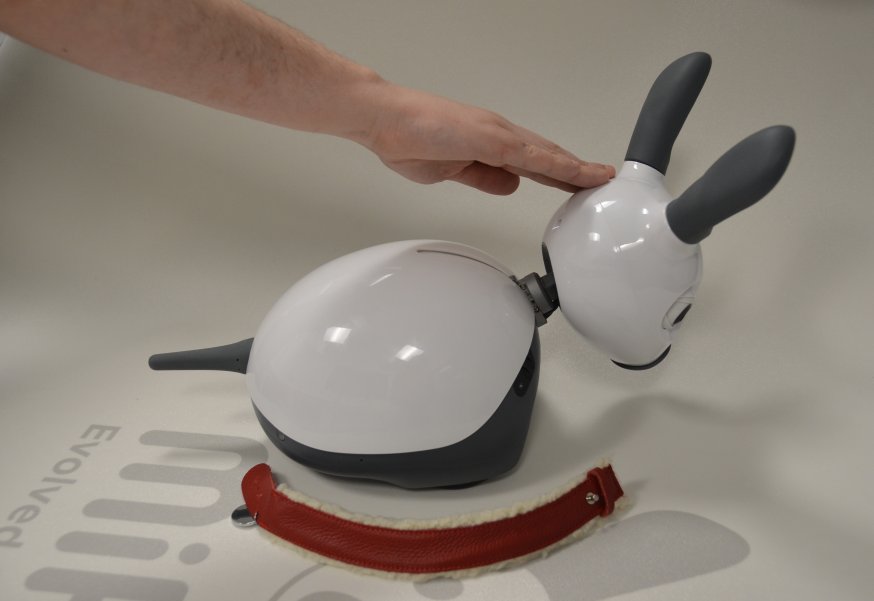
In order to remove MiRo's body shell, the collar needs to be removed and the head needs to be in the down position, i.e. with the neck member at the front end of the neck slot. When MiRo is powered down you can gently push the head into this position with your hand.
Remove screws
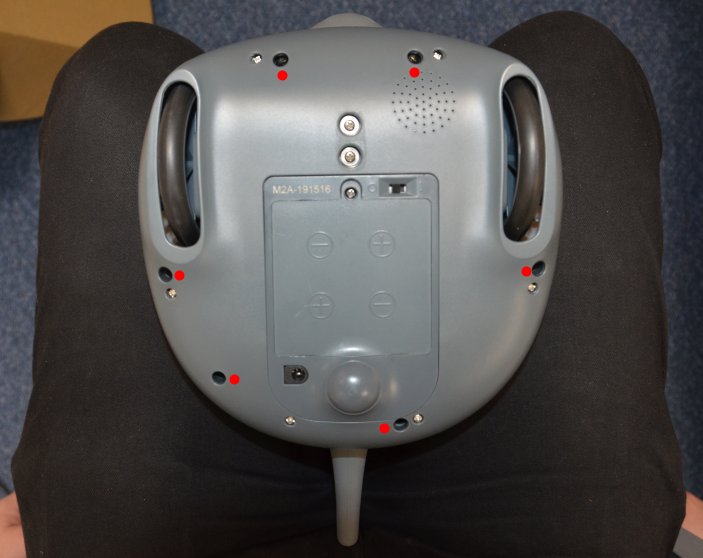
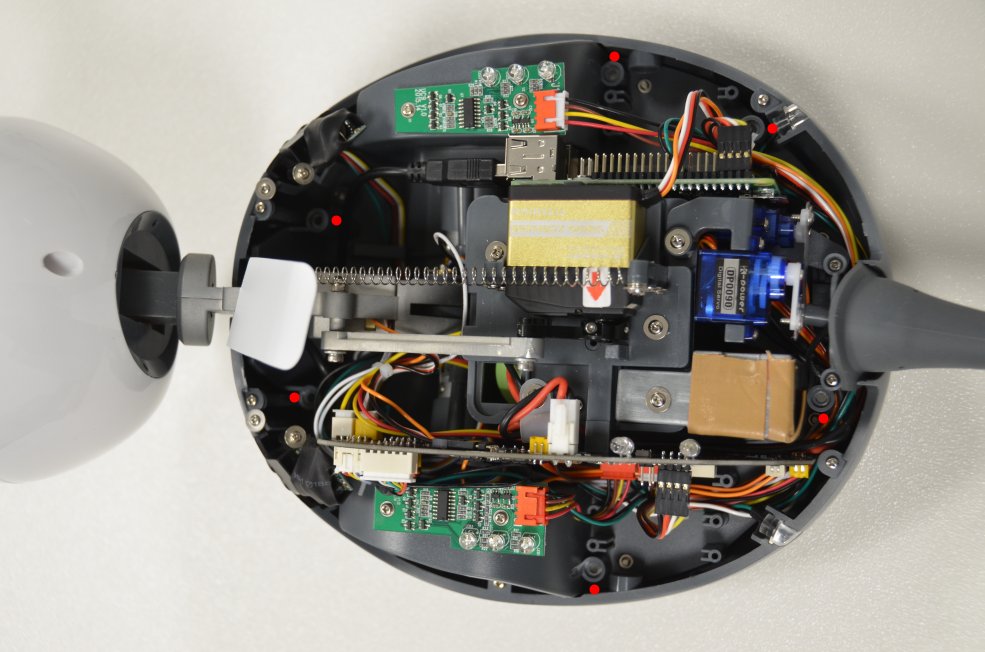
Turn MiRo upside-down, supporting him between your thighs, as shown. There are six screws on MiRo's underside securing the body shell. They can easily be confused with the neighbouring screws which hold MiRo's base together. The body shell securing screws are marked red in the image—remove only these six screws.
Shell removal
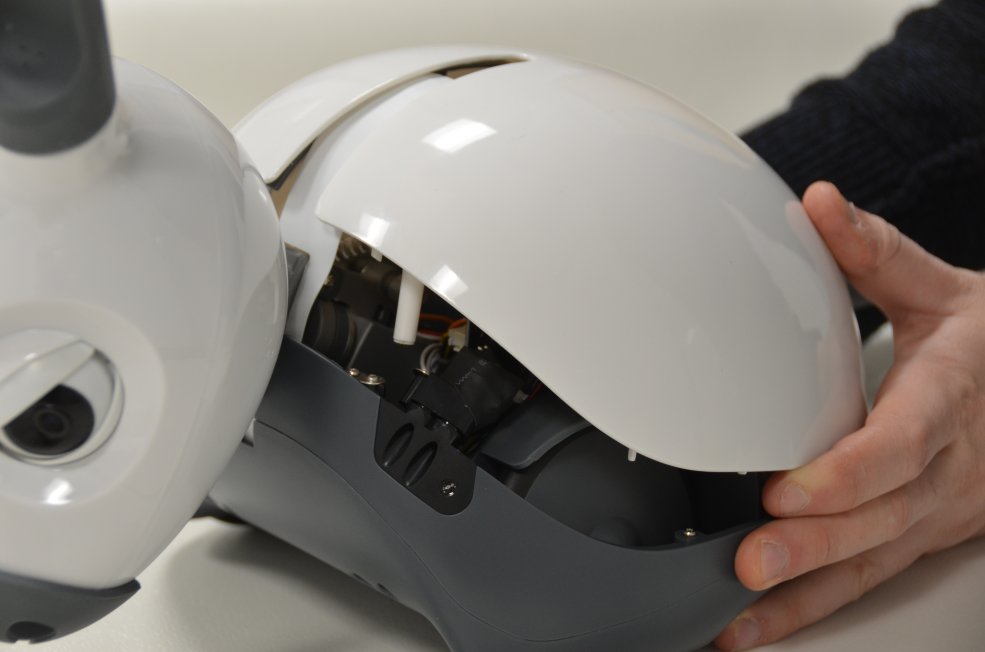
Being careful to support the body shell which is now detached from MiRo, turn MiRo back the right way up. You can now withdraw the shell carefully, lifting the rear edge first and then sliding the front edge up and back so that the neck slot clears the neck member, as shown in the photo.
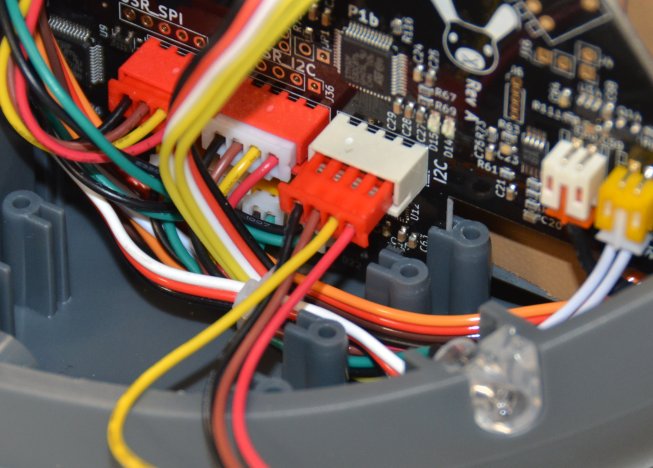
Release the shell from the flexible slot cover that fits into the channel on the underside of the body shell. Finally, unplug the connector for the body shell touch sensors from its socket on the main board inside the body, noting its location for refitting.
Refitting
Refitting is a reverse of removal. Reconnect the body shell touch sensor board, then engage the flexible slot cover with the channel in the underside of the body shell and slide the shell into position. Use firm but measured pressure to mate all six pillars, then flip MiRo over to reinsert the securing screws. Massage the shell, as required, to ensure that the screws engage—do not force the screws into place.
During refitting, please perform the following checks to avoid problems.
- Visually locate the six plastic pillars in the base that will mate with the plastic pillars hanging down from the body shell and ensure that none of them is fouled by cables or other components, to avoid possible damage to fouled parts.
- Check that the DIP switches (if fitted) are set correctly and that the SD card, if it was removed, is correctly installed.
- Confirm any cable connections that were disconnected for maintenance.
- Take care not to overtighten the screws.